
3 Quick And Easy Sewing Repairs Anyone Can Do
Clothes are so cheap now many people just throw things away when they need a repair which is a shame as many repairs are quick and easy.
Sewing On A Button
There are 3 reasons for sewing on a button
- You have made a new garment
- A button has come off
- A button is about to come off
Here a button has a loose thread so it’s worth cutting off and sewing on again in case it comes off unnoticed and gets lost.
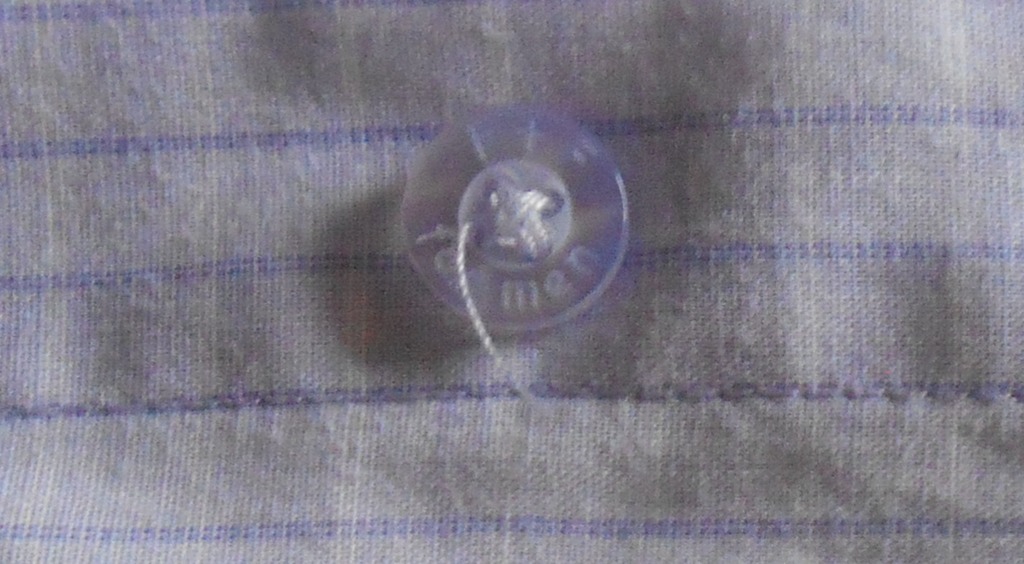
In order to be able to do up the buttons they are sewn on with a small amount of thread between the button and the garment, this is called the shank. Some buttons are made with a shank on them in which case the bottom of the shank can be sewn directly onto the garment without making a shank out of thread.
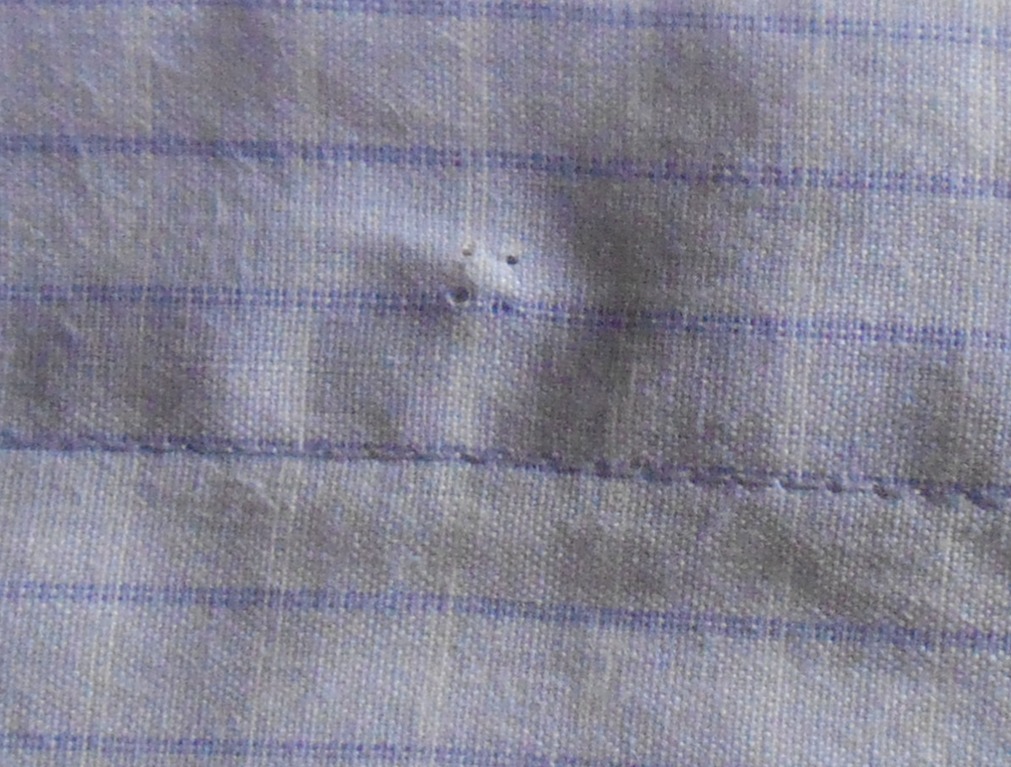
Where to position the button? If you are replacing a button the existing holes will guide you. When sewing a button onto a new garment you have to take the position from the appropriate button hole.
Start with a knot. Make a small stitch on the underside of the garment, leaving a few inches of thread so you can tie a knot. Tie the knot with your fingers, 2 or 3 times for safety and luck. Leave enough thread so you can also tie a knot with the thread when you have finished sewing on the button.
Then push the needle and thread through the material and out of one of the button holes.
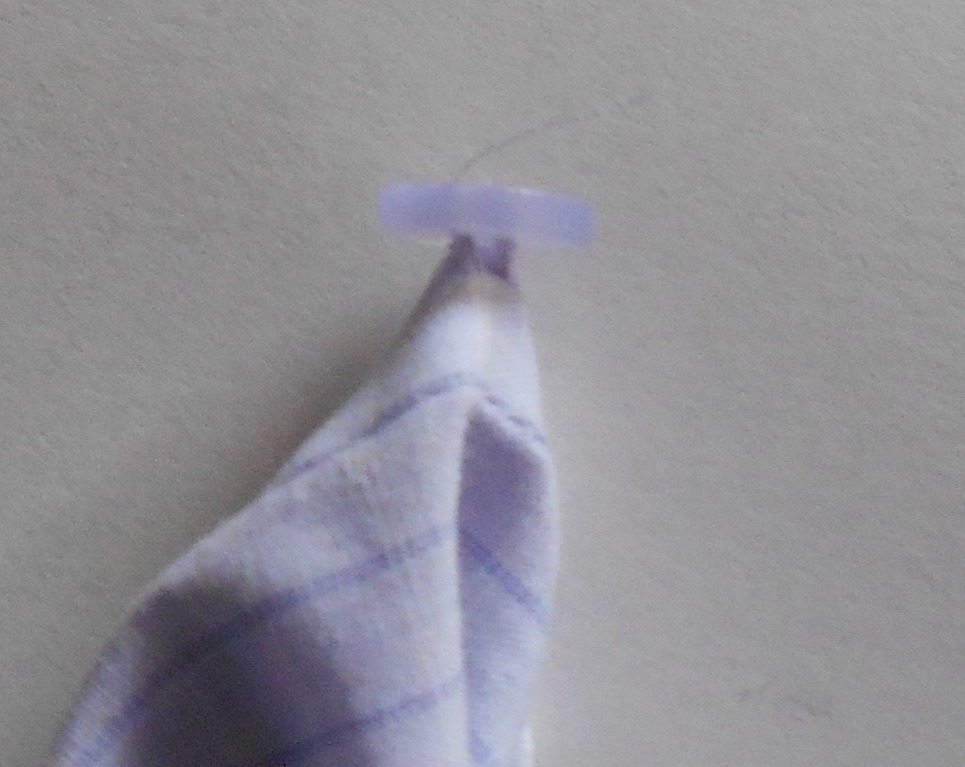
In order to make the shank put a cocktail stick, or something with a similar size on top of the button.
Pass the thread over the stick and down through the opposite hole and through the material.
This button has 4 holes so sew alternating between opposite pairs of holes. Some buttons only have 2 holes.
It can be a little fiddly to find the right hole from underside, but with a little careful exploration you will be able to find them.
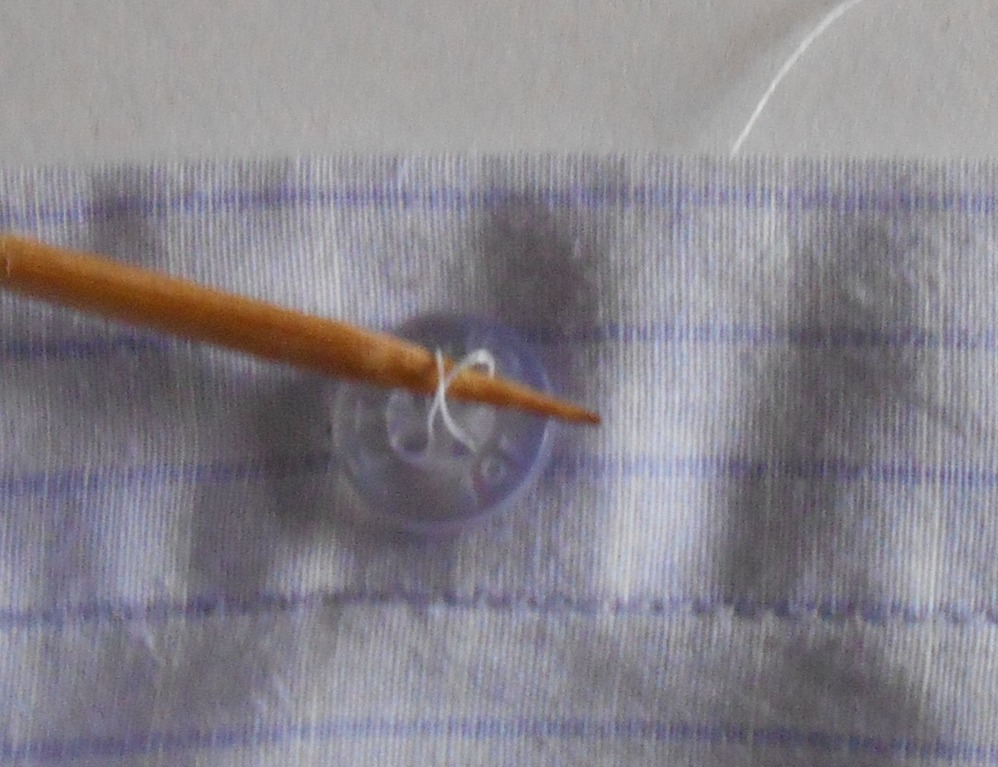
After about 6 stitches through each pair of holes stop below the button but before going though the material.
Wrap about 6 turns of thread around the shank (between the button and material).
Sew through the shank once or twice
Then sew down through the material once more.
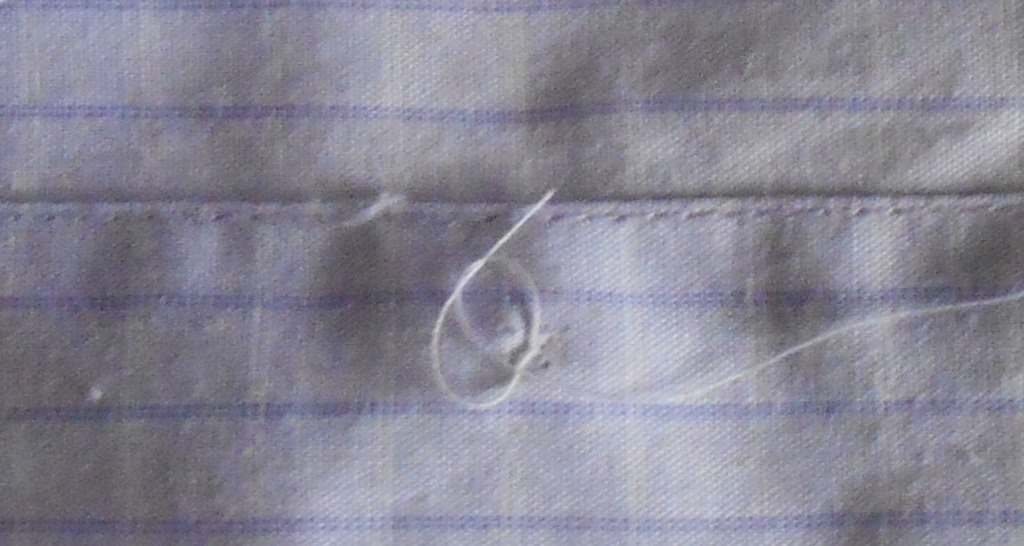
Sew a knot, as you did when starting then tie the thread, perhaps to the thread you left when starting.
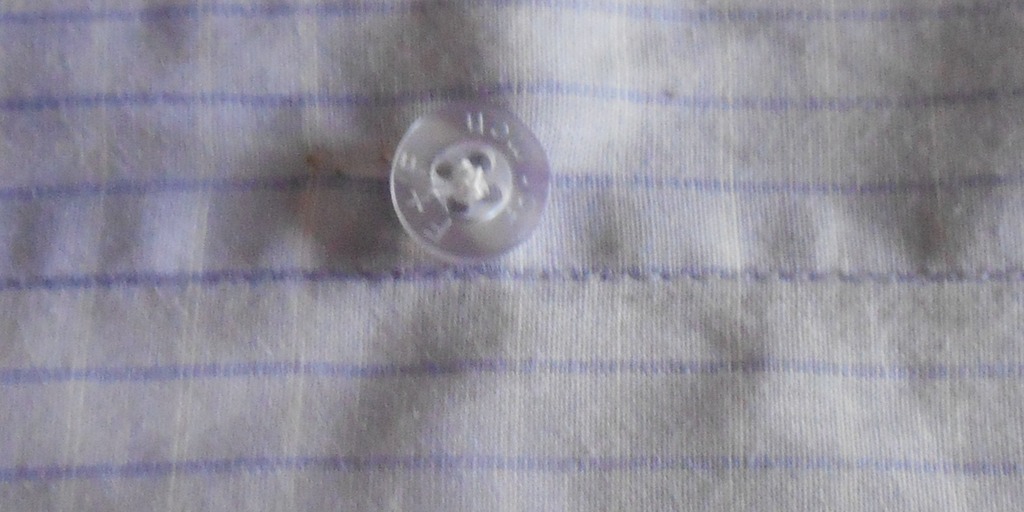
And you’re done
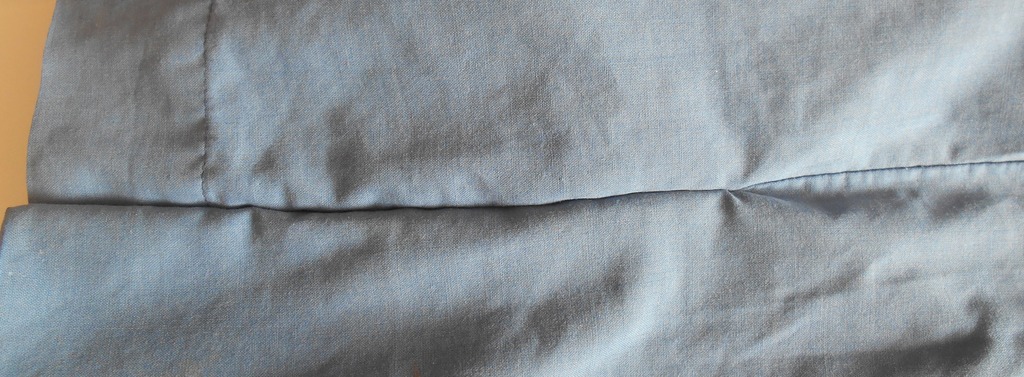
Repair A Split Seam
Here’s a pillow case in need of some TLC
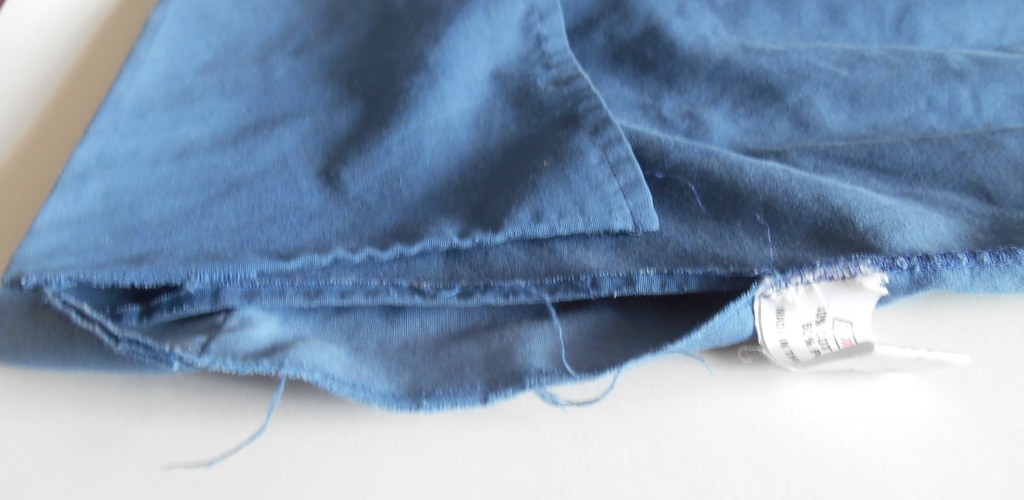
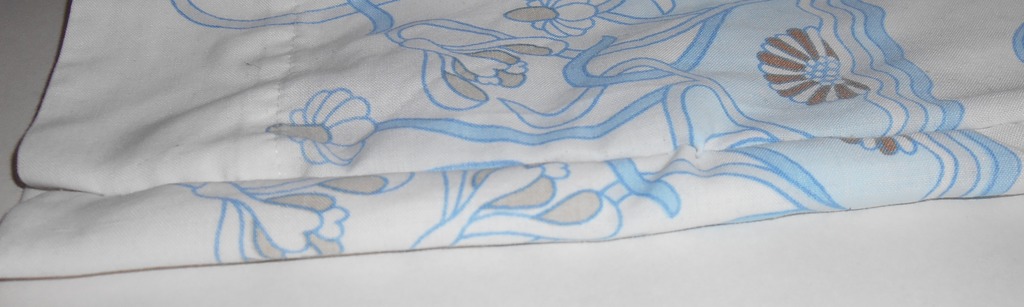
Cut off the old threads.
Pin the seam, leaving room for sewing.
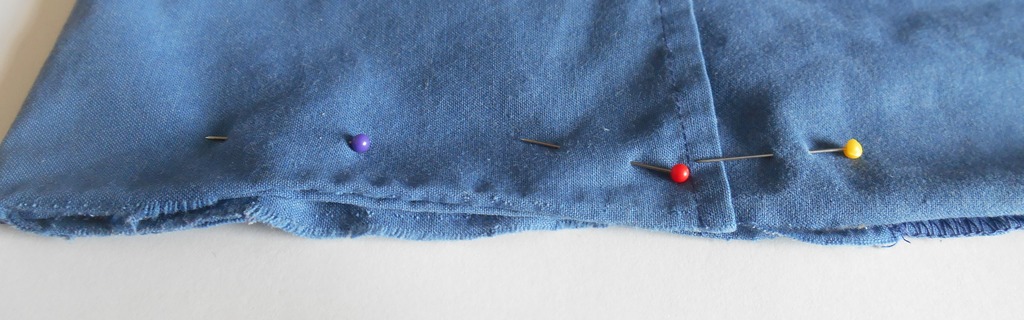
Start with a knot.
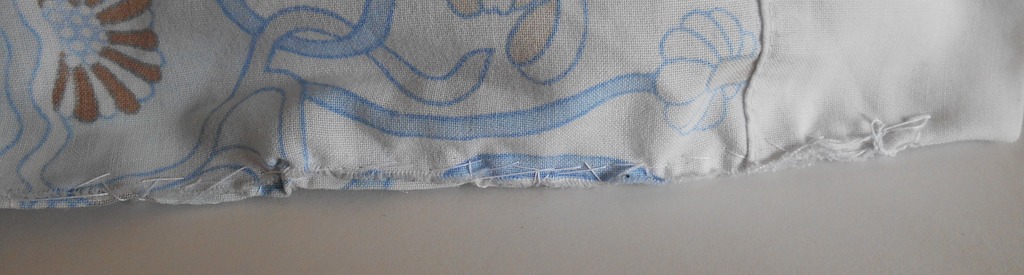
Push the needle below material and up again about ¼ inch further on. Repeat this stitch about ¼ inch further on and keep repeating until the end, in as straight a line as possible with as even stitches as possible.
This is a called a running stitch. There are many many sewing websites all demonstrating perfect stitch work which is a shame as good enough will do.
Use needle to tie a knot several times
Inside view of repair
Pillowcase right away around
Here’s another pillow which has been repaired.
The stitching is a random hodgepodge mess – yet it still works.
Unless your entering a sewing competition worry more about whether your repair works, with practice your sewing will improve.
If you do several repairs you may decide to buy a sewing machine, second hand machines can be bought for 10s of $/£/€ as can new small starter machines. However for small repairs it can be quicker to make the repair by hand than to get out the sewing machine.
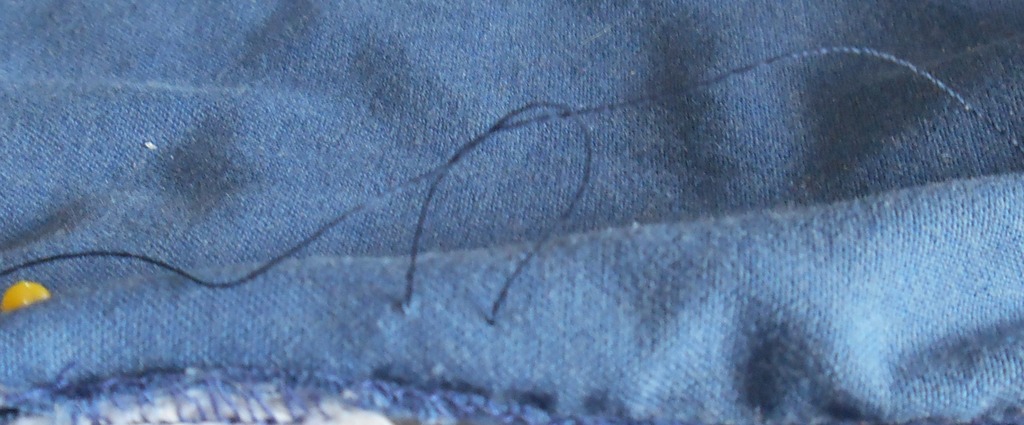
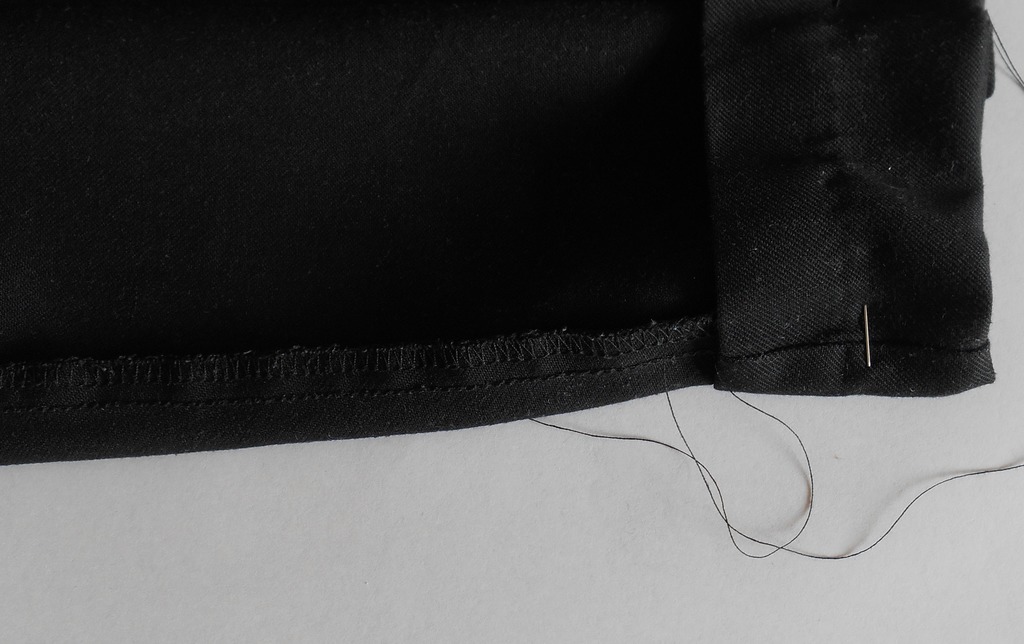
Taking Up Trousers
Trousers are commonly stocked with different leg sizes 2 inches apart, which can mean either having trousers too short or dragging on the ground – unless you take up them trouser hem.
Ideally get person who will wear the trousers to put them on.
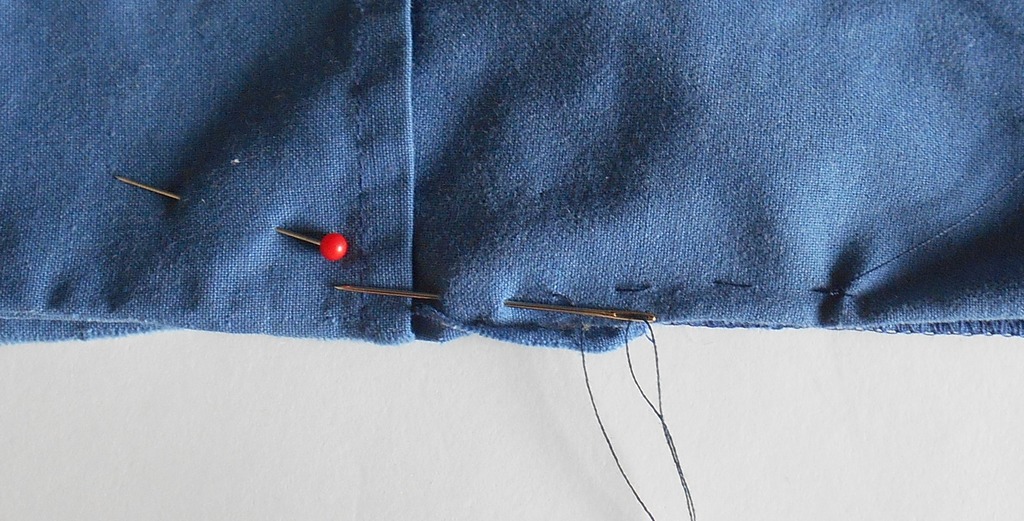
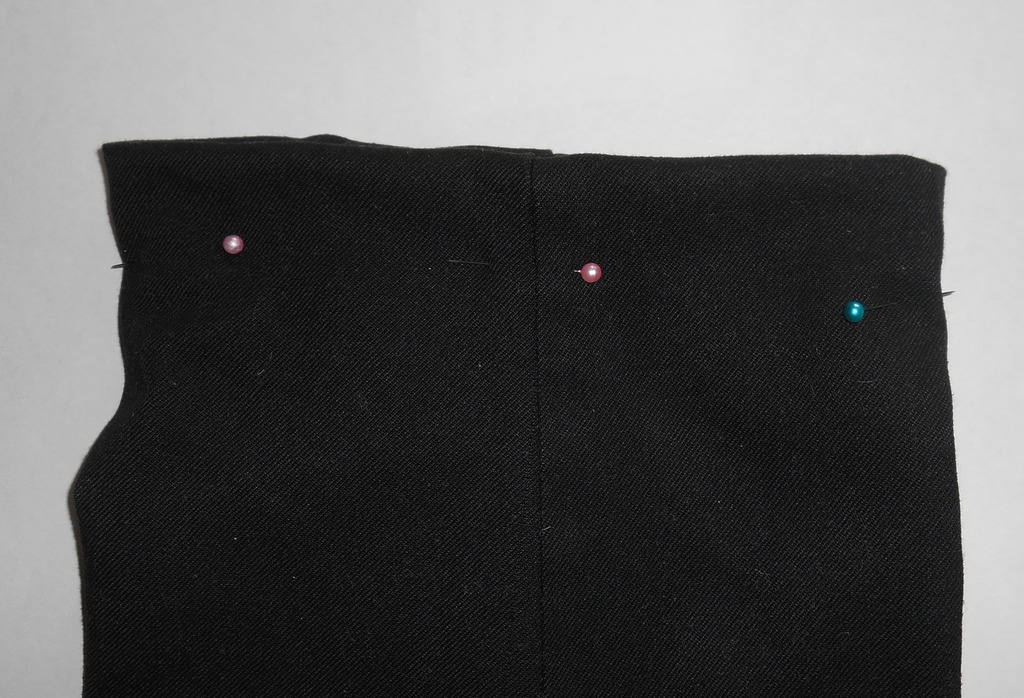
Turn up the trousers to the desired length, feeding the ends of the trousers inside.
Put at least one pin, in one leg to mark position.
You can pin all around one leg (4 pins) or both legs
Take the trousers off being careful of the pins.
Lay the trousers out flat
If you have just pinned one leg ensure that the bottoms have been pinned level and square, adjust if necessary. Then pin other leg to the same length.
If you’ve pinned both legs and they’re not reasonably close to the same length you’d better get the owner to put the trousers on again.
Otherwise ensure both legs are pinned to the same length and both are square.
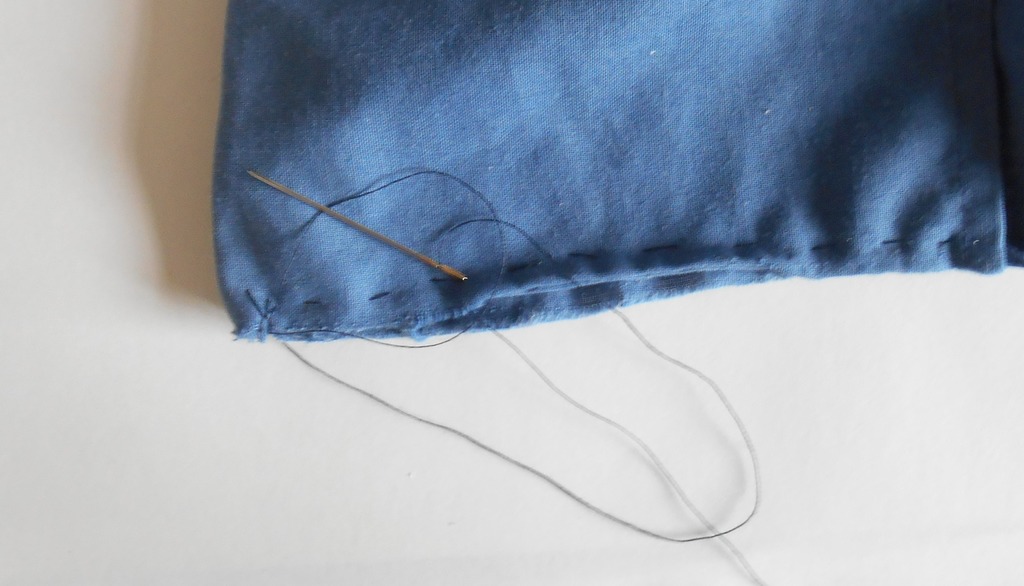
Turn turn legs inside out.
Start a knot on the seam.
Aim to sew a stitch through the front material
- as small as possible, so it’s barely visible
- and as close to the end of the turned up hem as possible
Then sew a stitch through the end of the trousers, this won’t be visible so it doesn’t matter how big the stitch is.
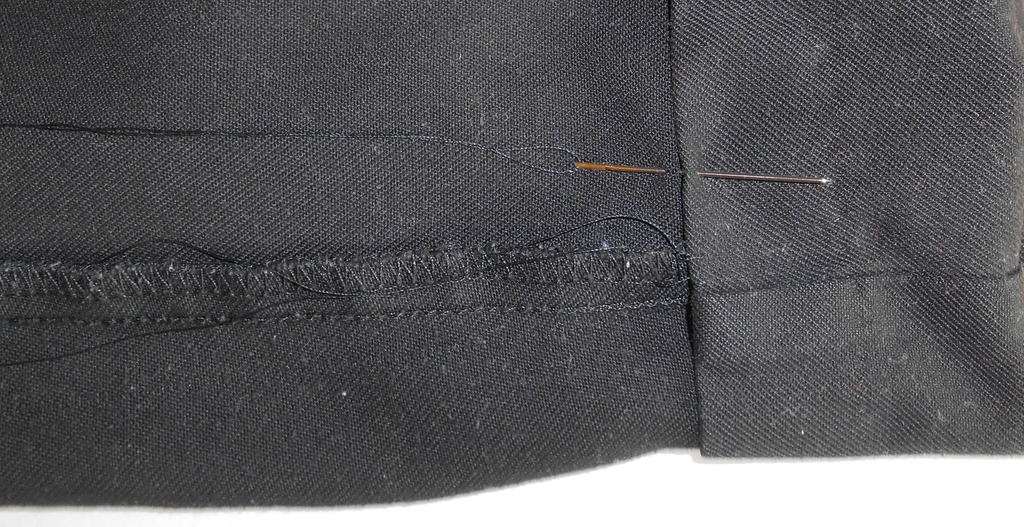
Although the picture shows the needle going through the front of the trousers and the hem at the same time it can be helpful to do these in two separate steps. This way you can have all your concentration on making sure the stitch through to the front of the trousers is as small as possible.
Repeat until all the way round to the next seam. It can be easier to tie off the thread when you reach the second seam and start again with a fresh piece of thread as this means you not sewing with such a long piece of thread which can lead to unintended tangles. In any case tie the thread off when you finish.
It’s a balance of using as few stitches as possible to ensure they are as invisible as possible, yet close enough together to avoid being able to catch the end of the hem with a toe and rip the stitches when putting on the trousers.
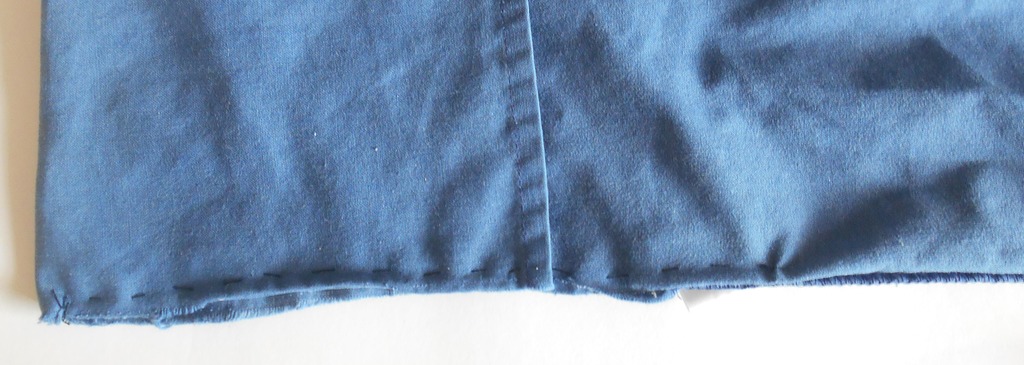
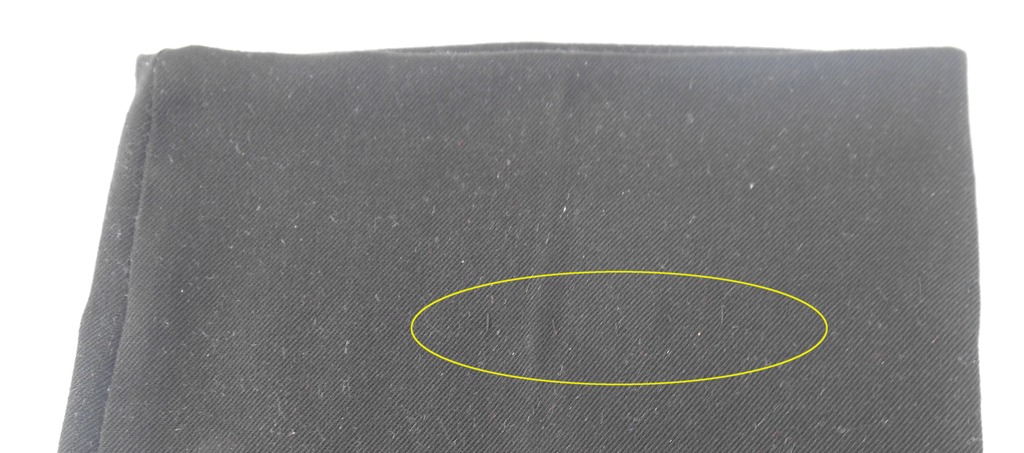
Something like this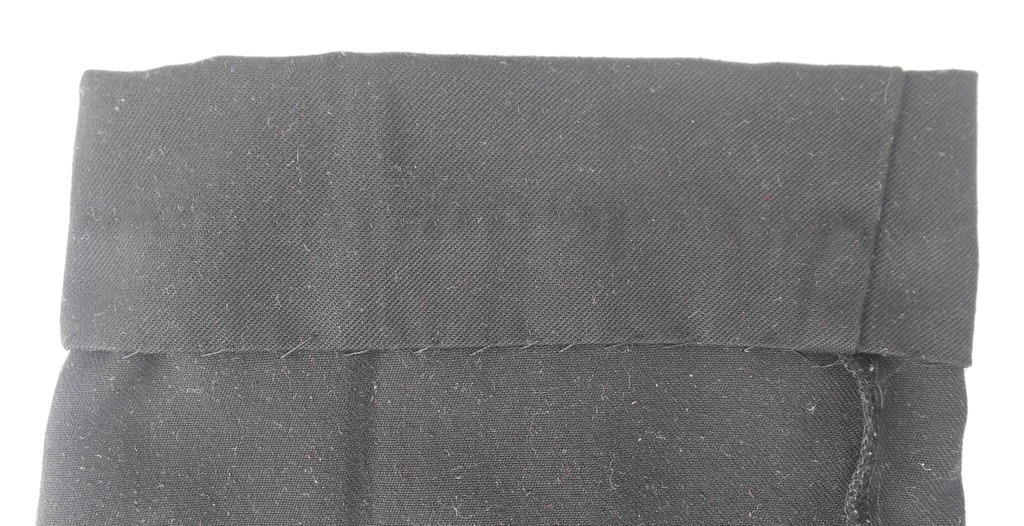
Which should look something like this from the outside where the stitches can hardly be seen even when highlighted.
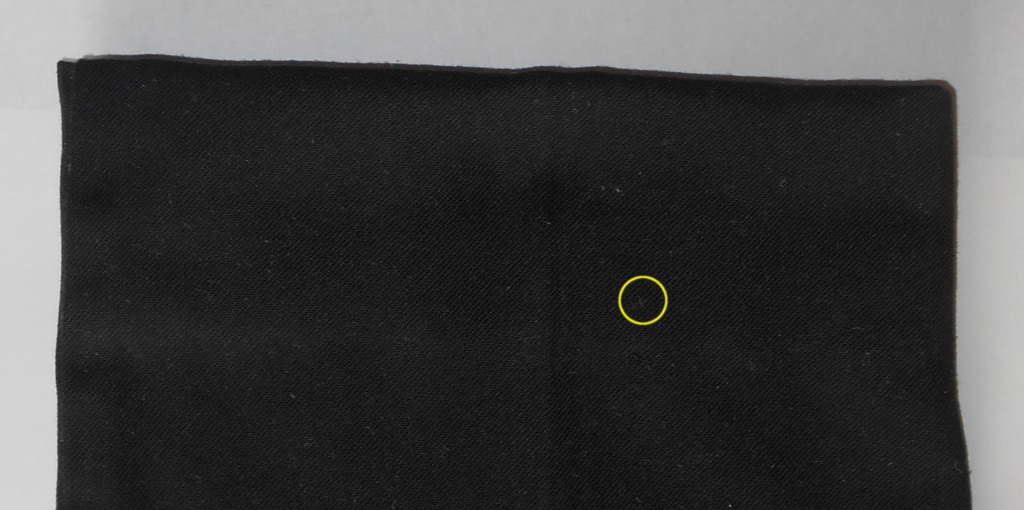
Even if things do go a bit wrong it’s hard to see unless you have someone inspecting your ankles!
Why not have a go and let us know how you get on?