
Simple Succulent Delicious Roast Chicken
Roast chicken is just about every families favorite. It tastes great, is easy to cook and economical too.
Here is a simple and easy recipe. As the recipe is simple the quality of the ingredients is key.
Quality Of Chicken
Start with best chicken you can afford, around 3 to 4 lb.
Choose a slow growing traditional breed which has been raised free range so it spent it’s life outside in fresh air free to perch or to roam, peck and scratch – in order to search for food. Chickens are descended from domesticated Red Junglefowl and their natural behavior is to forage for food by roaming, perking and scratching. Free range farmers may let their chickens grow for 100 days or more.
Cheaper mass produced chickens use breeds which grow quickly and are reared intensively in confined cages. Such a chicken may have a life of only 50 days of less. The cramped conditions mass produced chickens live in mean they are more susceptible to disease and are feed chemicals in order to prevent this. Chemicals which will be passed on to you if you eat this type of chicken.
Chickens which have more natural lives, where they can move around and exercise will develop muscle (the meat we eat) which is more succulent and tastier.
What And Why Of Roasting
The aim is to keep the meat moist whilst cooking. Whilst cooking juices will seep out of the meat, either through the skin or through the meat next to cavity bone. Some will stay within the cavity, the rest will end up in the roasting tray.
This recipe uses two ways of keeping the meat moist
- spreading fat over and inside then chicken before cooking
- periodically spooning fat over chicken whilst cooking (called basting)
and also slow roasts the chicken at a lower heat.
Prepare Chicken For Roasting
If your chicken is frozen take it out of freezer and put in fridge the day before to allow it plenty of time to defrost.
In any case take your chicken out of fridge and allow to come up to room temperature before cooking.
Do not wash the chicken as splashes can spread bacteria around your kitchen.
Pre heat the oven to 300F/150C/gas mark 3.
Use about 4oz of butter, warm if necessary so it is easy to spread. Again get the best quality butter.
Put a teaspoon or two inside the cavity and spread the rest all over the chicken, paying particular attention to thighs and wings. Season with salt and pepper.
In practice in is easiest to put the chicken on it’s back butter and season one side, then turn it over then butter and season the other side.
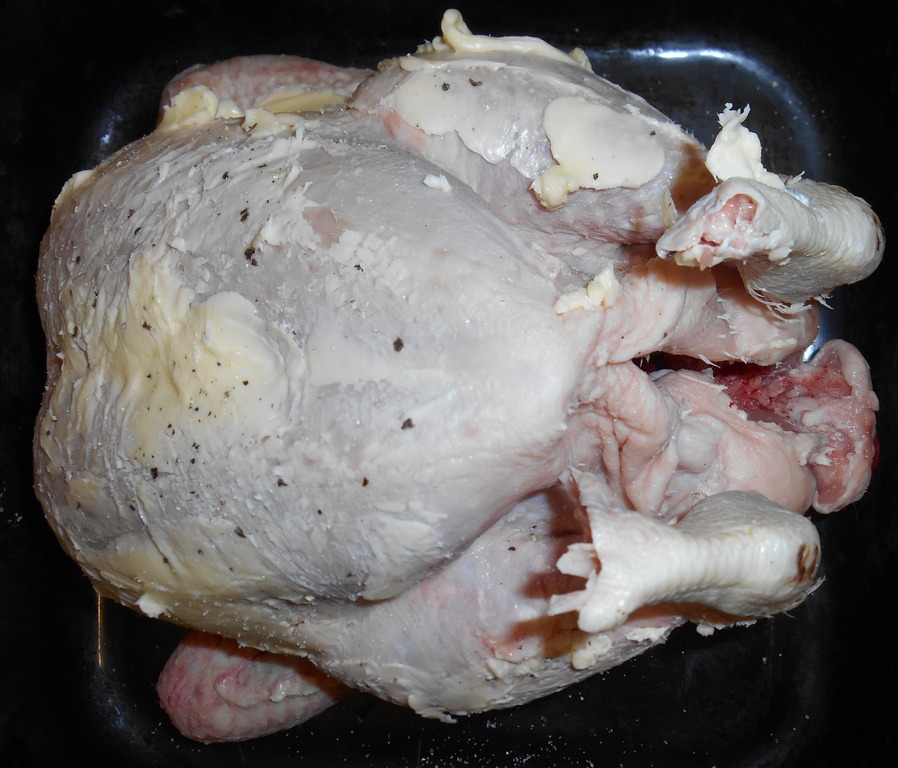
The chicken has 4 sides
- breast down
- breast up
- 2 more resting on either leg
It may be necessary to press down hard to get the chicken to be stable when resting on a leg side.
This recipe calls for roasting the chicken for 20 minutes on each of the 4 sides in this order
- leg
- opposite leg
- breast down
- breast up
and basting the chicken every 20 minutes when you take it out of the oven to turn oven.
Basting is simply spooning some of the juices in the roasting tray over the chicken paying particular attention to the thighs and breast. The juice will run off but some will sink in.
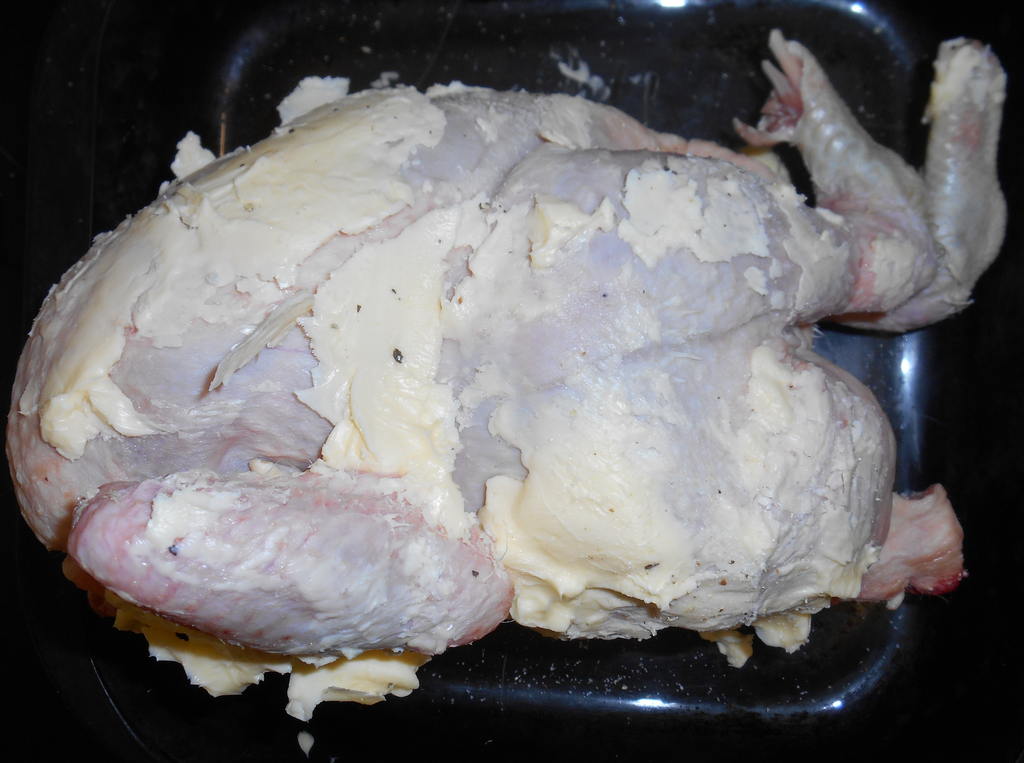
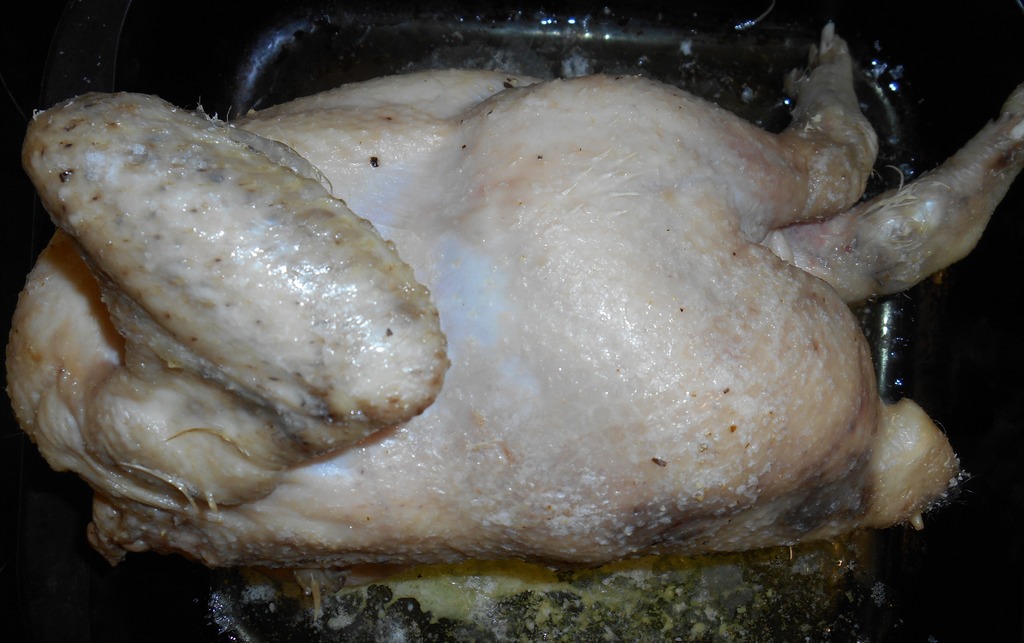
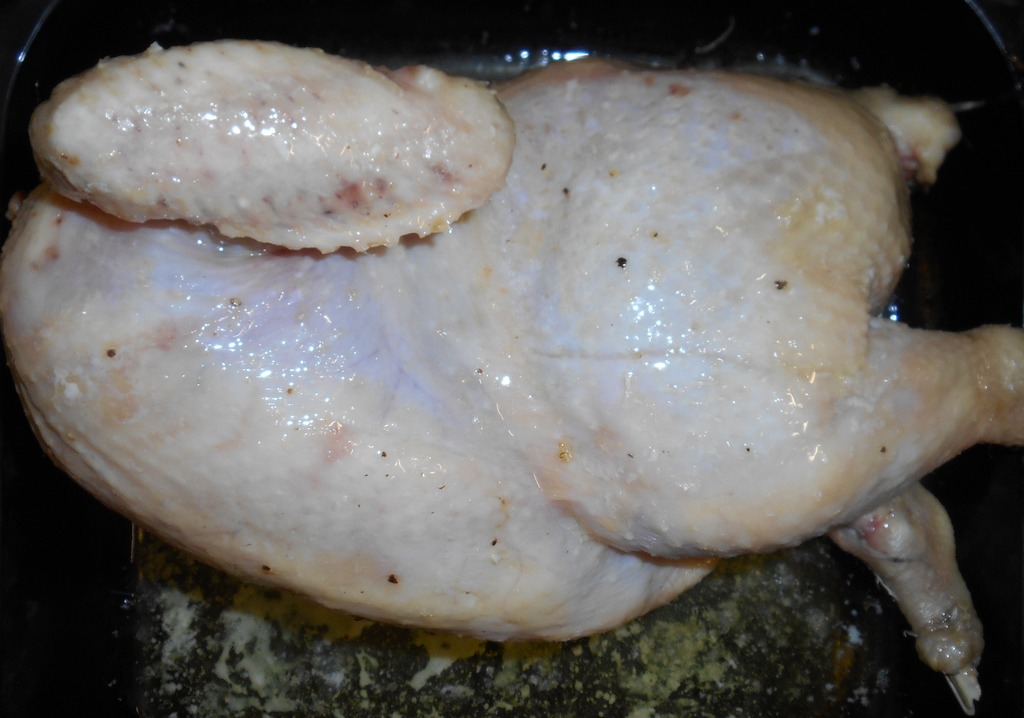
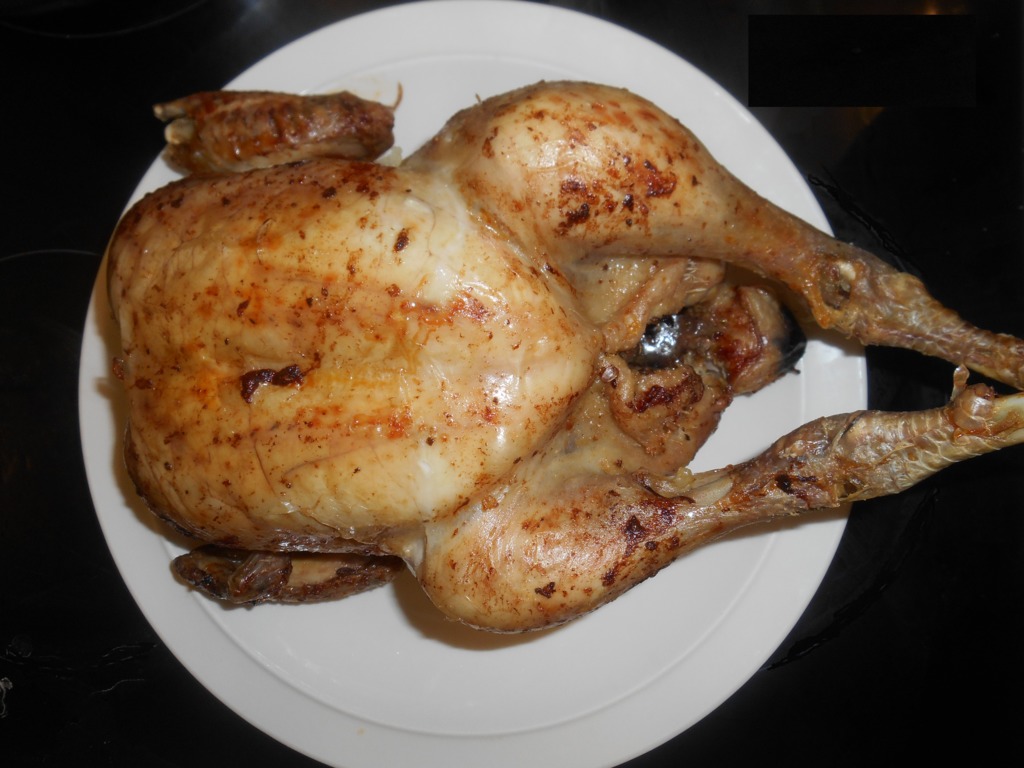
Here are some pictures to show you how the chicken begins to brown with cooking.
At the beginning
after first 20 minutes
after second 20 minutes
If you wish you can turn the oven up a bit for the last 20 minutes (340F/170C/gas mark 3 ½) which will help ensure your chicken is rich brown and the skin is crispy.
As the heat in some ovens is not completely even it may be worth turning the tray around 180º to swap back and front.
After 1 hour and 20 minutes your chicken should look brown and smell great. It should also be cooked.
You can test to ensure your chicken is cooked either by
- using a knife or skewer to pierce a leg
- or holding the chicken up above the tray (using 2 forks)
If the juices which run out of the chicken are clear, it is cooked.
If the juices are bloody then put the chicken back in the oven for 10 minutes and test again. It would also be worth double checking the temperature your oven is set to.
Rest
Once the chicken is cooked put chicken on a warm dish and leave for 10-20 minutes to ‘rest‘. While resting juices which were making their way out of the chicken go back into the meat, resulting in a moister, better tasting chicken.
Carve And Serve
Traditionally the chicken breasts are carved in slices. The wings and legs are cut off, maybe the legs are cut into pieces. Chicken is served with roast potatoes, vegetables and gravy.
As a change why not cut of each breast as a single piece complete with skin, then divide the breasts. This has advantage of everyone getting a complete section from skin to bone.
Another option is to use 2 forks to shred all the chicken meat.
Rather than serve as a ‘roast’ meal why not use the chicken, hot or cold, in sandwiches or salad.
No Waste
The juices in the roasting pan can be turned into gravy
Any excess fat can be stored in fridge and used for to cook roast potatoes or your next chicken.
Boil up the carcass to make stock which will keep in fridge for a few days or in freezer for a few months.
Variations
There are many different recipes for roast chicken, some use one or more of the following
- herbs
- garlic
- butter
- lemon, and lemon juice
- olive oil instead of butter
- stuffing
but they’re all variations on this basic recipe.